
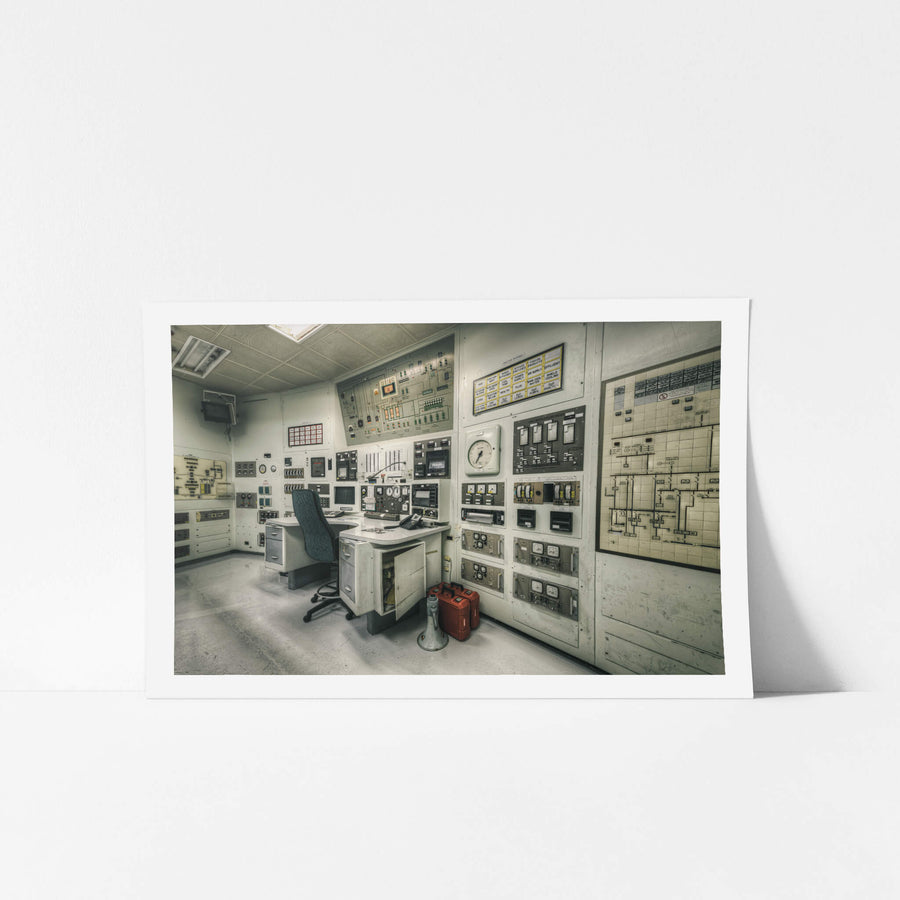
Control Room Right Cross View
Provenance
- Camera
- NIKON D850
- Lens
- 14.0-24.0 mm f/2.8
- Settings
- 14mm · f/7.1 · 0.3s · ISO 64
- Paper
- Ilford Galerie Smooth Cotton Rag 310 gsm
Instrument panels line three walls of the HIFAR reactor control room at Lucas Heights. Analogue gauges, switches, and indicator lights cover every surface. A desk phone sits on the operator's console. Two red fuel cans rest on the floor beside a megaphone.
Open edition
Printed to order, no fixed quantity. Each print is hand-signed by the photographer.
Limited edition
A fixed number of prints exist. Once sold, the edition closes permanently. Each print is individually numbered and signed.
Shipping Free shipping over $250. Ships worldwide, rates calculated at checkout.
Returns Damaged in transit? We replace it. Full policy →
Ships within 10 business days · signed & numbered
In situ

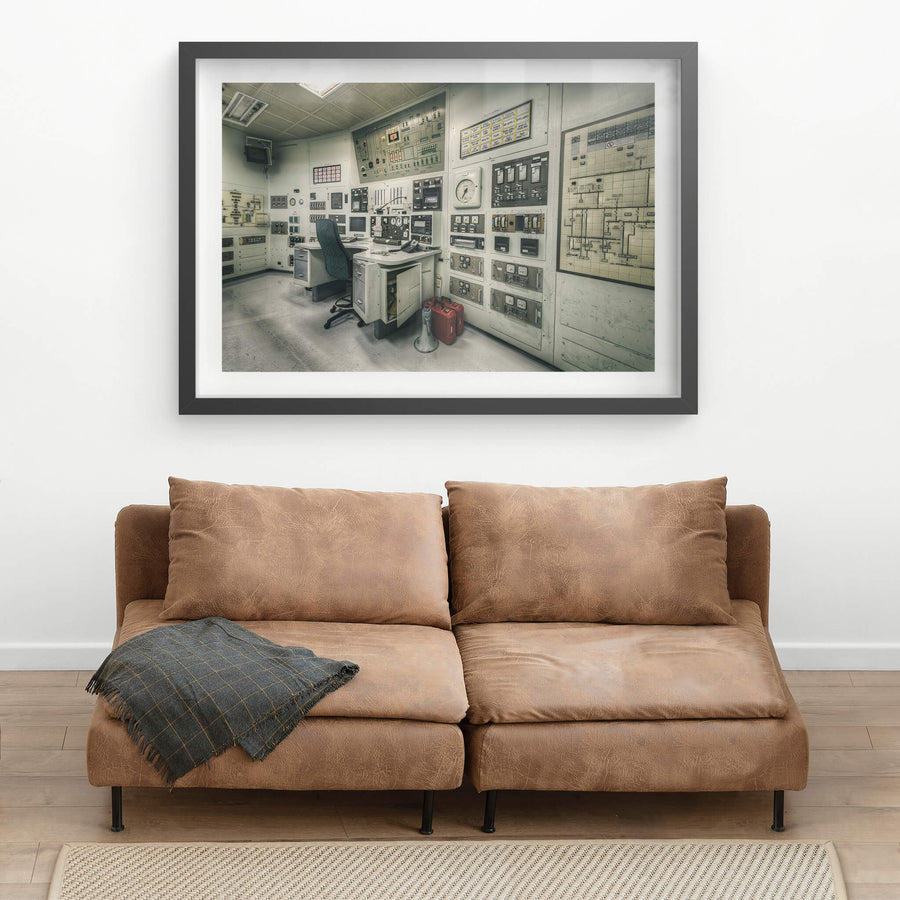
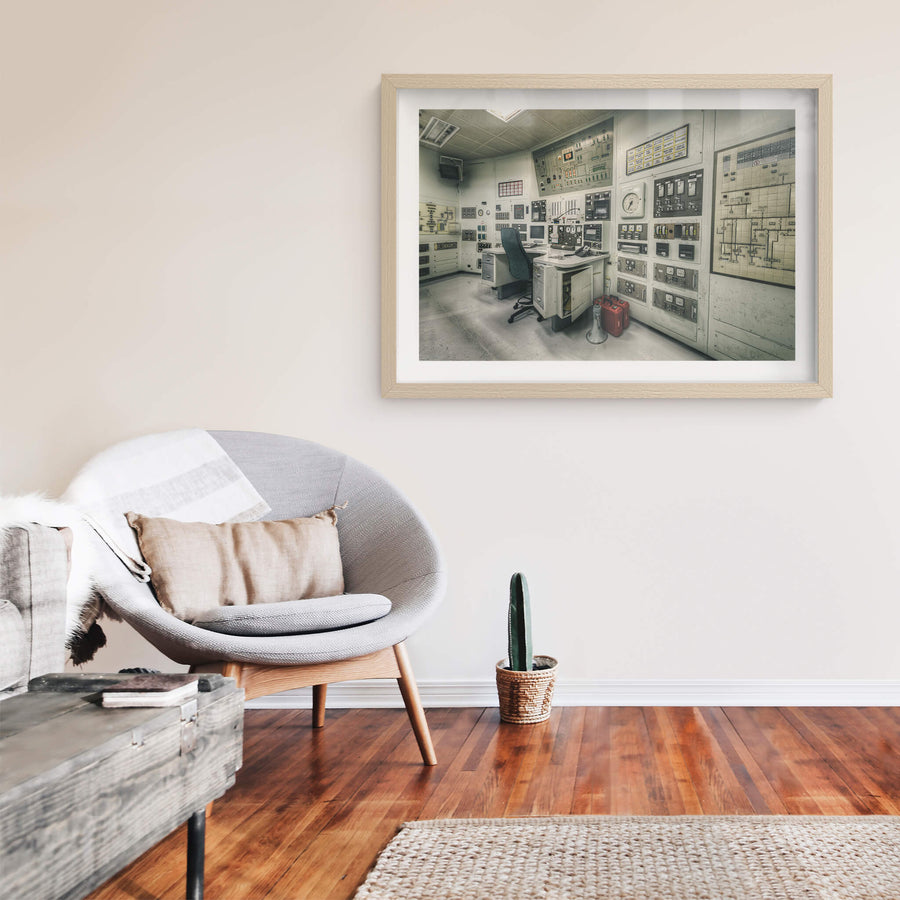

Print datasheet
- Title
- Control Room Right Cross View
- Series
- ANSTO HIFAR
- Catalogue
- AHF-017
- Process
- Giclée
- Captured
- 7 October 2022
- Camera
- NIKON D850
- Lens
- 14.0-24.0 mm f/2.8
- Aperture
- f/7.1
- Shutter
- 0.3s s
- ISO
- 64
- Focal length
- 14 mm
- Paper
- Ilford Galerie Smooth Cotton Rag 310 gsm
- Paper size
- 290 × 200 mm
- Location
- Lucas Heights, New South Wales, Australia
- Authenticity
- C2PA verified provenance →
- Recognised by
- National Trust of Australia (NSW), 2016 Heritage Award, Multimedia
Lucas Heights, New South Wales, Australia
Map · Mapbox · OpenStreetMap
About this print
This perspective of the ANSTO HIFAR control room highlights the left-side wall, where an array of panels housed essential reactor control instruments. From monitoring coolant flow to overseeing neutron flux, each component played a critical role in the safe and precise operation of Australia’s first nuclear reactor.
Brett Patman

The series
ANSTO HIFAR
HIFAR, the High Flux Australian Reactor, was Australia's first nuclear reactor. It went critical at 11:15 pm on Sunday 26 January 1958 and ran for forty-nine years and four days before being permanently shut down on 30 January 2007. The reactor was the last of six DIDO-class research reactors built worldwide to cease operation.
Print sizes
The anatomy view shows what this finish is as a physical object: paper margin, mat band, frame depth, acrylic profile. The comparison strip shows how each size sits relative to the others at true scale. Click a size or a finish to update both.
| Type | Size | Width | Height |
|---|


