
Downstairs Exit
Provenance
- Camera
- NIKON D7000
- Lens
- 24.0-70.0 mm f/2.8
- Settings
- 24mm · f/8.0 · 5s · ISO 100
- Paper
- Ilford Galerie Smooth Cotton Rag 310 gsm
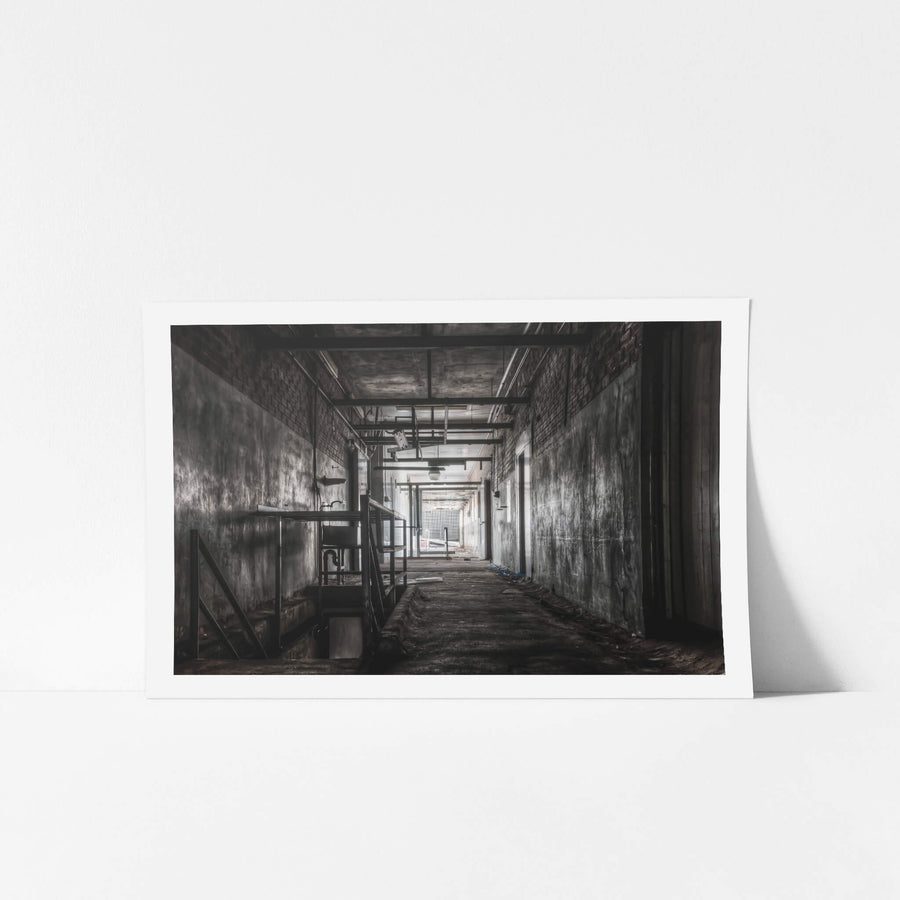
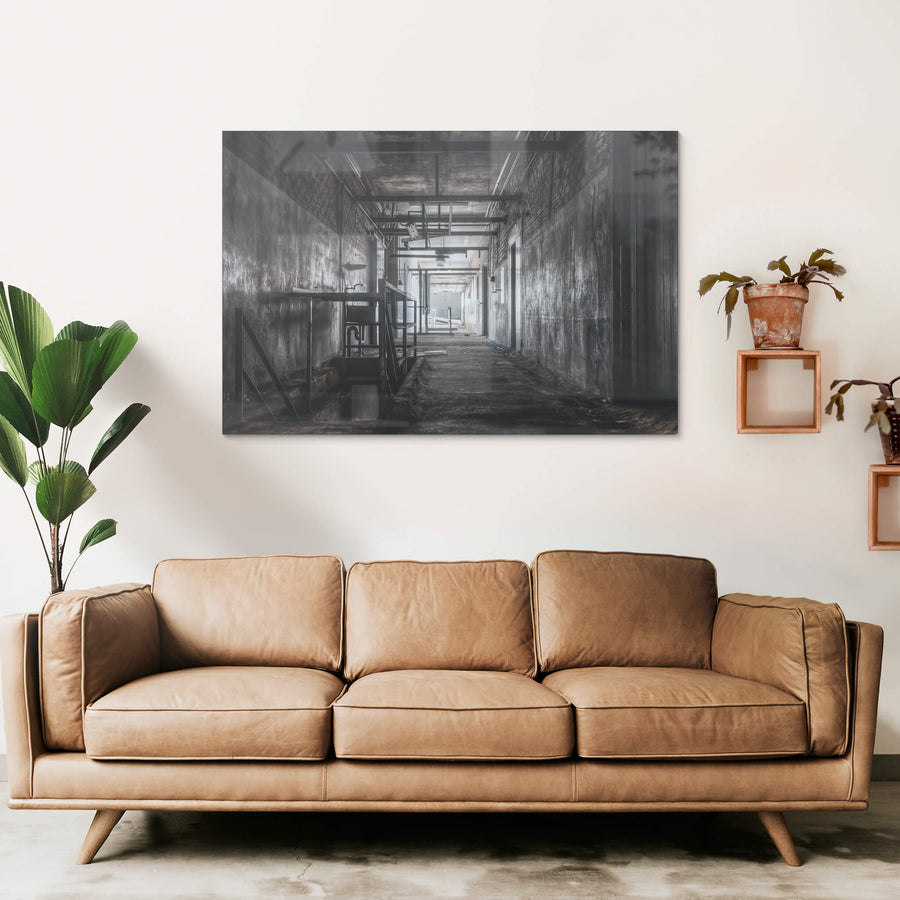
Rusting bars secure a downstairs exit within the derelict Blayney Abattoir. Concrete walls show signs of decay as dim light penetrates the forgotten industrial complex, revealing a passage into darkness.
Open edition
Printed to order, no fixed quantity. Each print is hand-signed by the photographer.
Limited edition
A fixed number of prints exist. Once sold, the edition closes permanently. Each print is individually numbered and signed.
Shipping Free shipping over $250. Ships worldwide, rates calculated at checkout.
Returns Damaged in transit? We replace it. Full policy →
Ships within 10 business days · signed & numbered
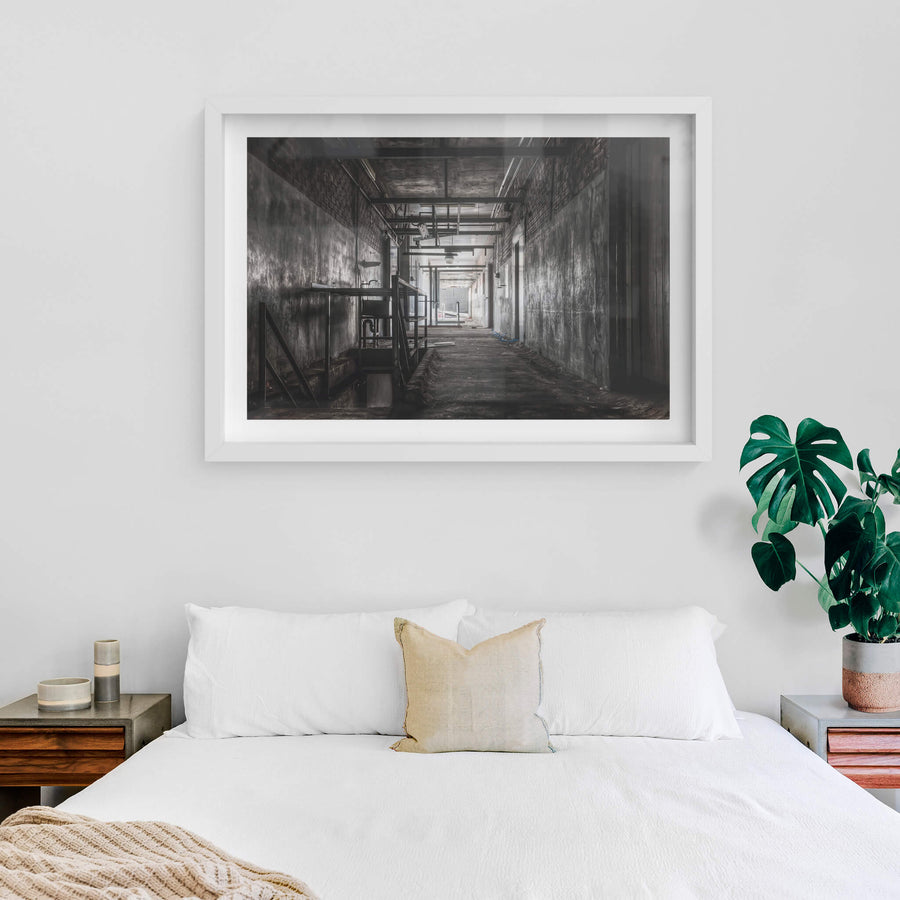
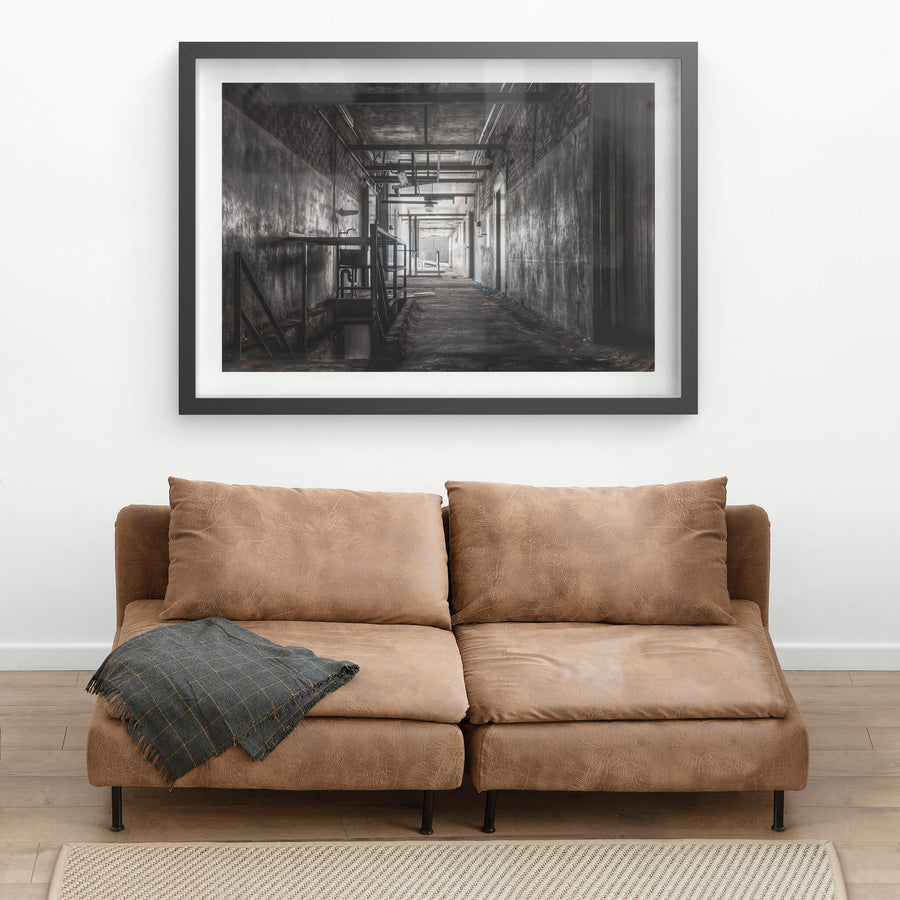
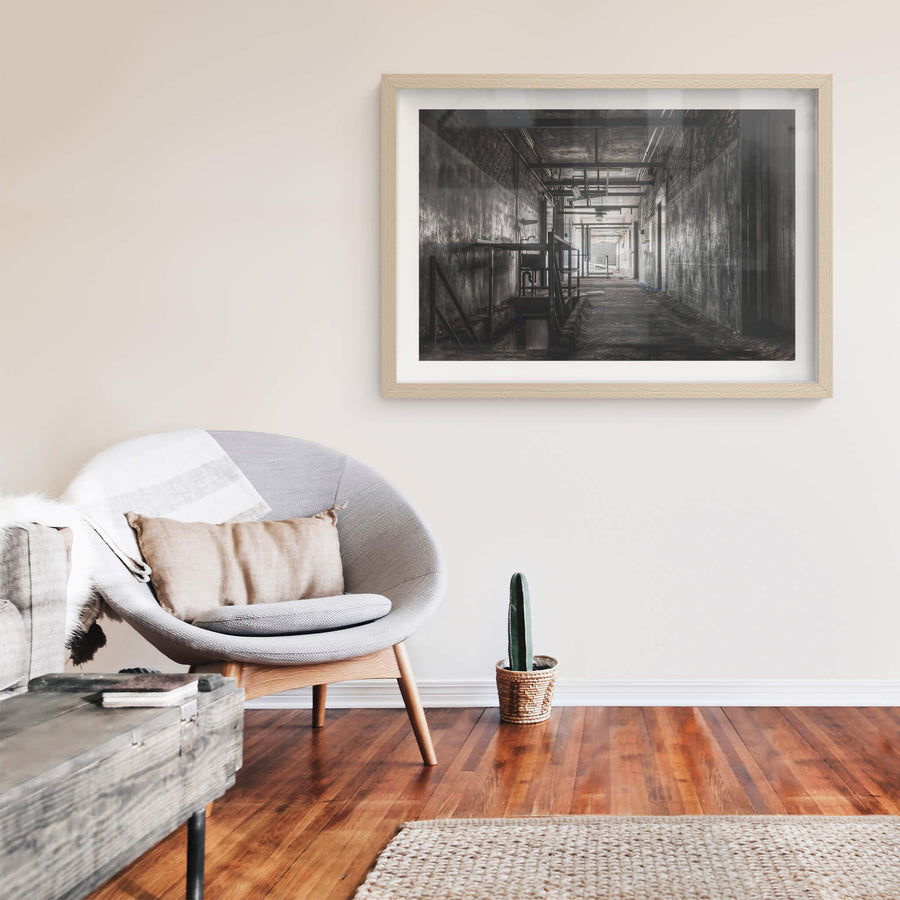
In situ
Print datasheet
- Title
- Downstairs Exit
- Series
- Blayney Abattoir
- Catalogue
- BAB-008
- Process
- Giclée
- Captured
- 1 January 2016
- Camera
- NIKON D7000
- Lens
- 24.0-70.0 mm f/2.8
- Aperture
- f/8.0
- Shutter
- 5s s
- ISO
- 100
- Focal length
- 24 mm
- Paper
- Ilford Galerie Smooth Cotton Rag 310 gsm
- Paper size
- 290 × 200 mm
- Location
- Blayney, New South Wales, Australia
- Authenticity
- C2PA verified provenance →
- Recognised by
- Highly Commended in Multimedia at the 2016 National Trust of Australia (NSW) Heritage Awards
Blayney, New South Wales, Australia
Map · Mapbox · OpenStreetMap
About this print
A concrete corridor narrows toward a mesh gate at the far end, where grey light spills inward. Steel basin on the left wall, taps still attached. Overhead, a tight grid of pipes and rails runs the full length of the ceiling. The walls are dark with grime, brick courses visible where render has pulled away. Floor caked in years of accumulated dirt. Debris scattered near the gate. The air in here would be cold and still.
Brett Patman

The series
Blayney Abattoir
At peak the Blayney Abattoir employed about 1,600 people, one of the largest workforces in Central West New South Wales. The site had been a butter factory and freezing works from at least 1900, converted to an abattoir in 1957. ANZCO Foods, the New Zealand owner since 1996, announced closure in March 1998 with about 600 workers given a week's pay.
Print sizes
The anatomy view shows what this finish is as a physical object: paper margin, mat band, frame depth, acrylic profile. The comparison strip shows how each size sits relative to the others at true scale. Click a size or a finish to update both.
| Type | Size | Width | Height |
|---|


