
Coal Bunkers
Provenance
- Camera
- NIKON D810
- Lens
- 14.0-24.0 mm f/2.8
- Settings
- 14mm · f/9.0 · 6s · ISO 100
- Paper
- Ilford Galerie Smooth Cotton Rag 310 gsm
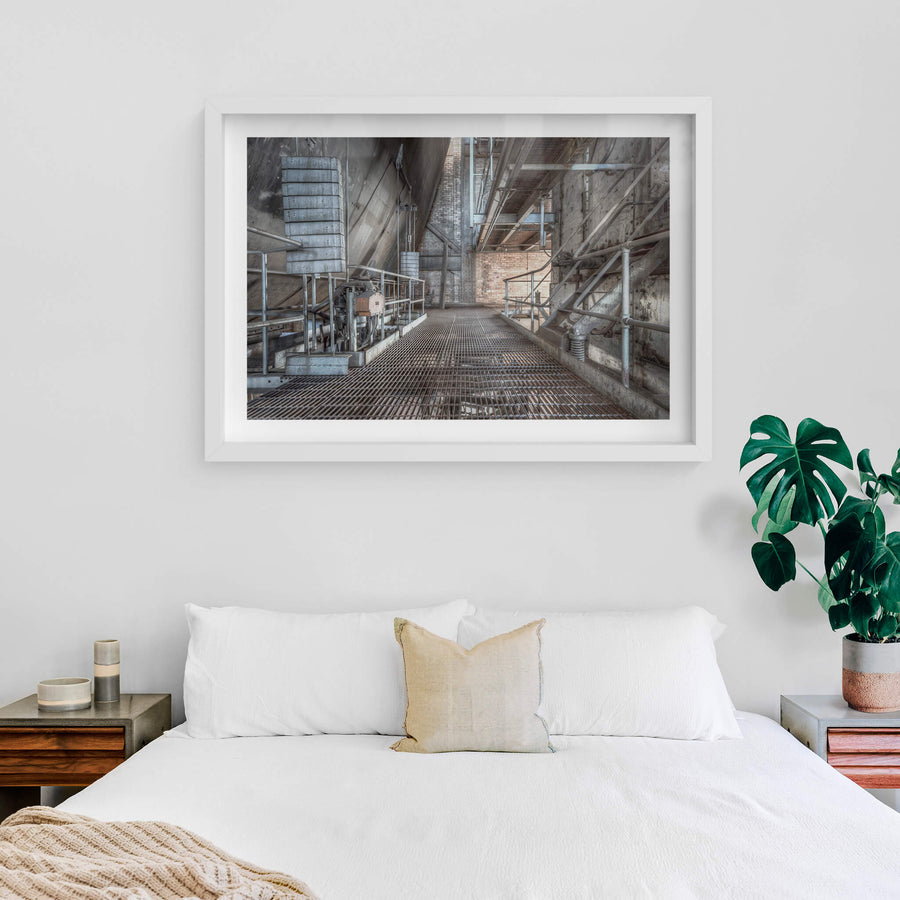
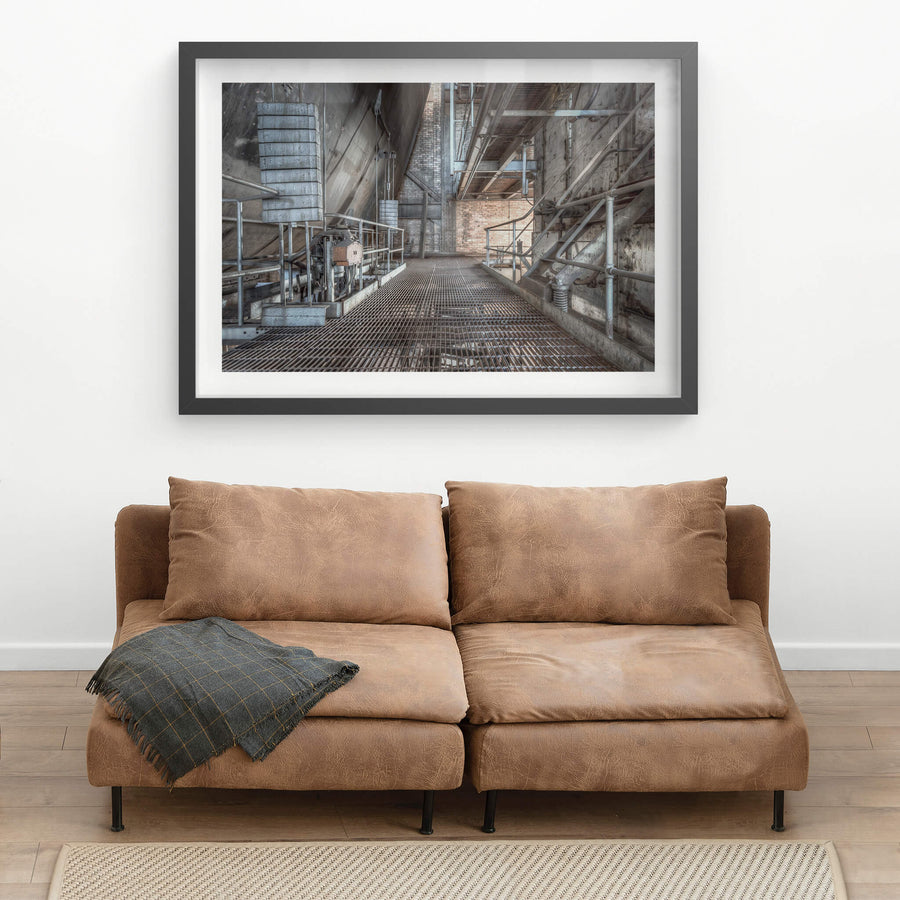
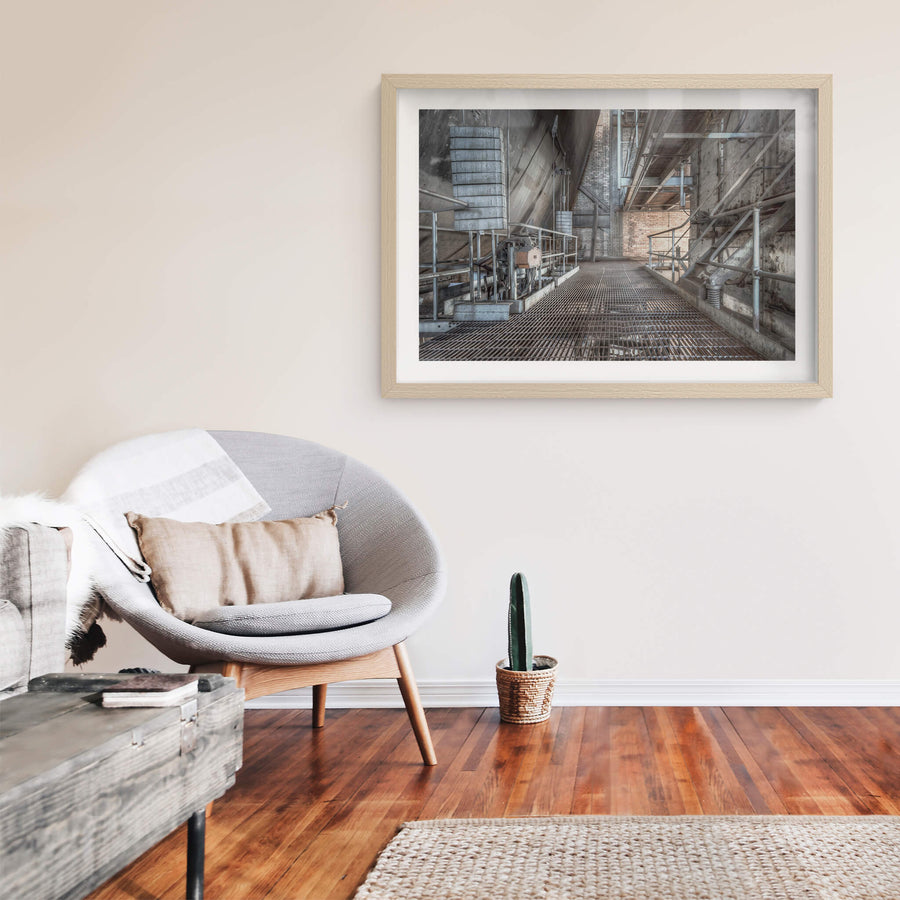
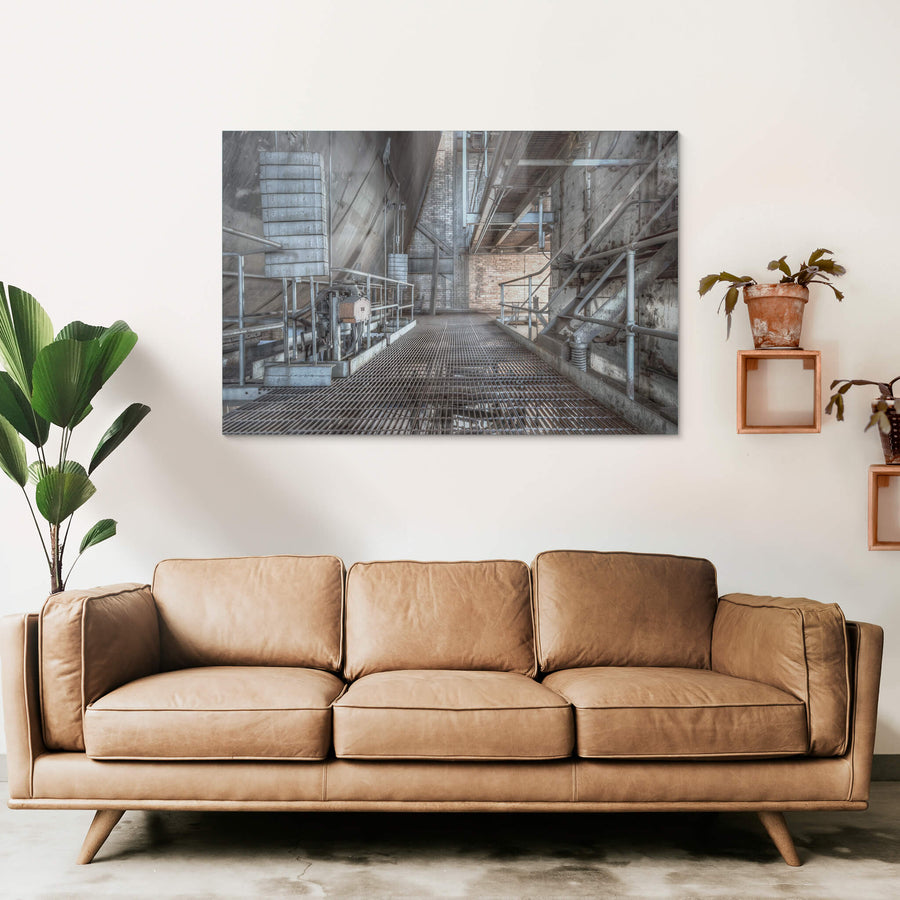
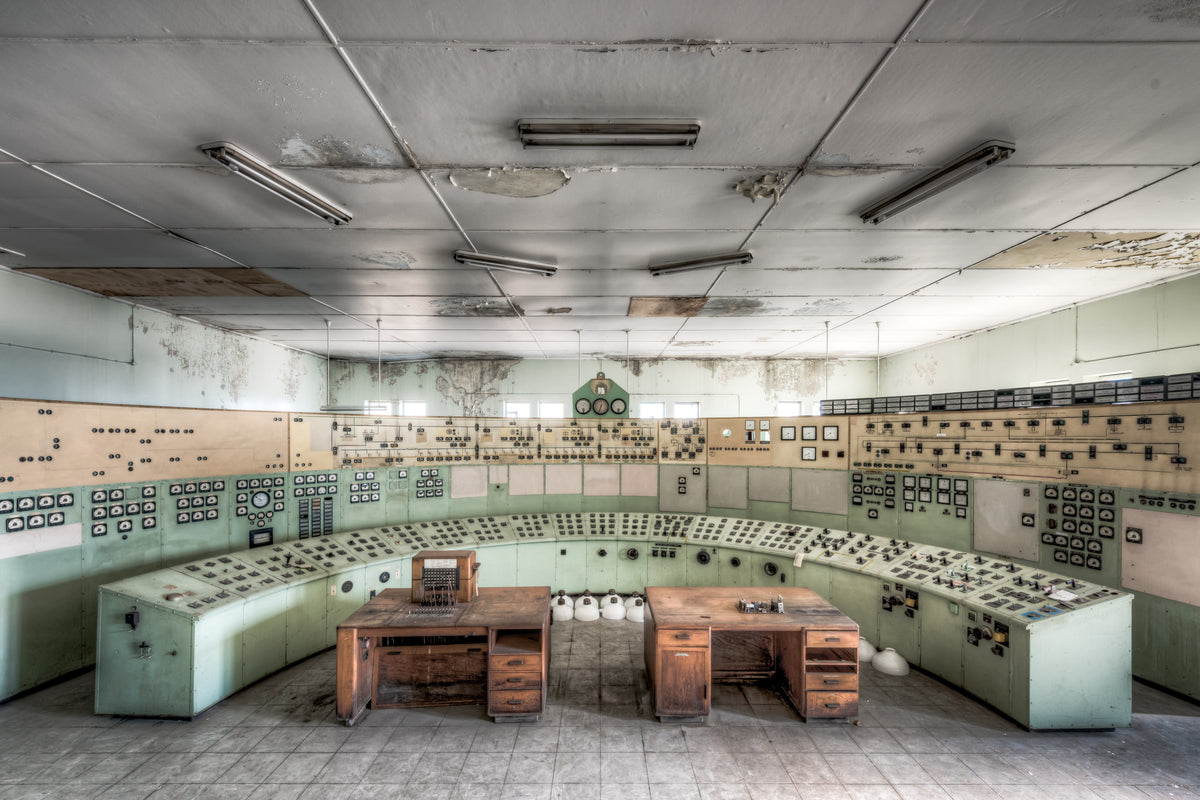
Steel grate flooring spans between the coal bunker on the left and the top of Boiler No. 1 on the right, inside the boilerhouse. Counterweights hang from a mechanical system overhead, most likely part of the controls that regulated coal flow or air intake. Boiler No. 1 is the one Babcock and Wilcox boiler left in place; the voids of the other three are still visible in the northern section.
Open edition
Printed to order, no fixed quantity. Each print is hand-signed by the photographer.
Limited edition
A fixed number of prints exist. Once sold, the edition closes permanently. Each print is individually numbered and signed.
Shipping Free shipping over $250. Ships worldwide, rates calculated at checkout.
Returns Damaged in transit? We replace it. Full policy →
Ships within 10 business days · signed & numbered
In situ

Print datasheet
- Title
- Coal Bunkers
- Series
- White Bay Power Station
- Catalogue
- WBP-102
- Process
- Giclée
- Captured
- 27 May 2016
- Camera
- NIKON D810
- Lens
- 14.0-24.0 mm f/2.8
- Aperture
- f/9.0
- Shutter
- 6s s
- ISO
- 100
- Focal length
- 14 mm
- Paper
- Ilford Galerie Smooth Cotton Rag 310 gsm
- Paper size
- 297 × 210 mm
- Location
- Rozelle, New South Wales, Australia
- Authenticity
- C2PA verified provenance →
- Recognised by
- Highly Commended in Multimedia at the 2016 National Trust of Australia (NSW) Heritage Awards
Rozelle, New South Wales, Australia
Map · Mapbox · OpenStreetMap
About this print
Suspended between the towering coal bunker and the top of Boiler No. 1, this steel-grated walkway once provided access to the heart of White Bay Power Station's fuel system. Below, countless tons of coal once moved through the chutes, feeding the station’s insatiable appetite for energy.
Brett Patman
The series
White Bay Power Station
Bricklayers laid 3.7 million bricks at White Bay across three and a quarter years of Phase 1 construction, on Wanngal Country at the western edge of Rozelle. The New South Wales Government Railways ran the build through its own Construction Department. By 3 July 1913, boilers and alternators were running before the buildings that housed them were complete.
Print sizes
The anatomy view shows what this finish is as a physical object: paper margin, mat band, frame depth, acrylic profile. The comparison strip shows how each size sits relative to the others at true scale. Click a size or a finish to update both.
| Type | Size | Width | Height |
|---|


