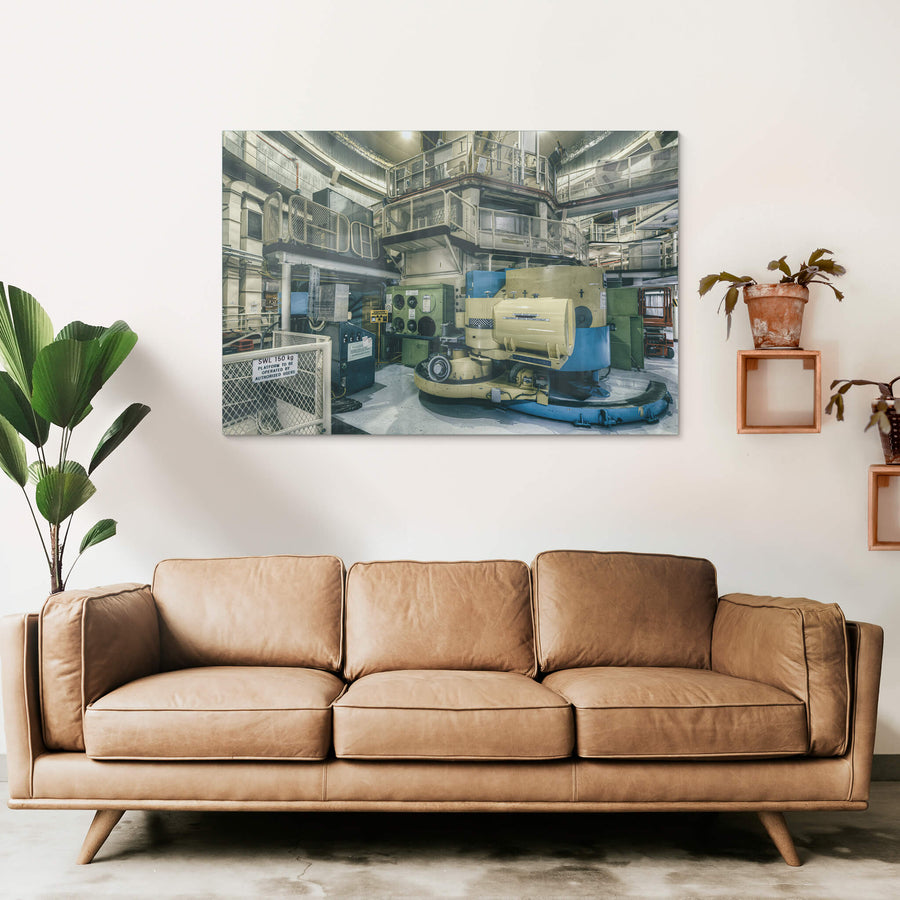
Target Can Loading Port

Provenance

Paper
Ilford Galerie Smooth Cotton Rag 310 gsm

The Target Can Loading Port at ANSTO's HIFAR reactor. This industrial machinery once handled irradiated materials, a critical part of the facility's operations. Its worn surfaces reflect its silent history.

Edition
Open edition

Open edition
Printed to order, no fixed quantity. Each print is hand-signed by the photographer.

Limited edition
A fixed number of prints exist. Once sold, the edition closes permanently. Each print is individually numbered and signed.

$100.00 AUD
Size
Type
Colour
Signed, numbered, with COA. Made to order in 10 to 20 business days (framed). Shipped in protective packaging with edition certificate, paper-stock reference and a printed care guide.
See certificate sample →

Shipping Free shipping over $250. Ships worldwide, rates calculated at checkout.

Returns Damaged in transit? We replace it. Full policy →

Ships within 10 business days · signed & numbered

In situ
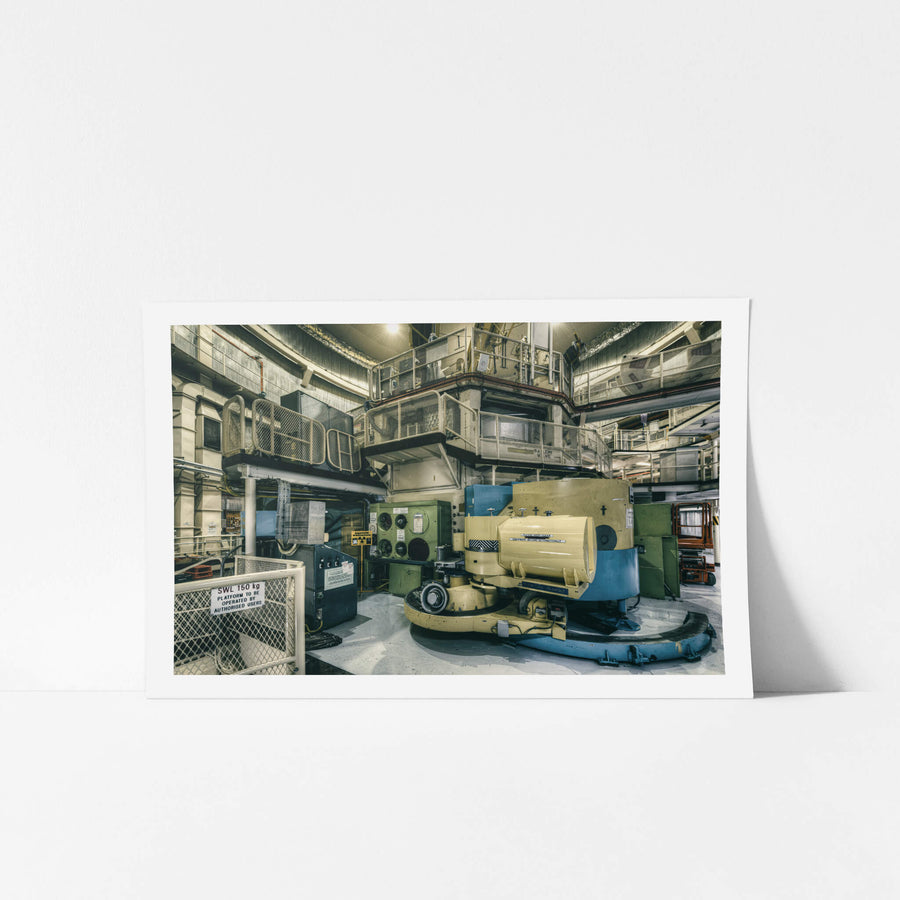
Target Can Loading Port at ANSTO HIFAR, the green loading port on the left side was used for target cans that were.Target Can Loading Port at ANSTO HIFAR, the green loading port on the left side was used for target cans that were.Target Can Loading Port at ANSTO HIFAR, the green loading port on the left side was used for target cans that were.Target Can Loading Port at ANSTO HIFAR, the green loading port on the left side was used for target cans that were.Target Can Loading Port at ANSTO HIFAR, the green loading port on the left side was used for target cans that were.
01 PROVENANCE

Print datasheet

Title
Target Can Loading Port
Series
ANSTO HIFAR
Catalogue
AHF-047
Process
Giclée
Paper
Ilford Galerie Smooth Cotton Rag 310 gsm
Paper size
290 × 200 mm
Location
Lucas Heights, New South Wales, Australia
Recognised by
National Trust of Australia (NSW), 2016 Heritage Award, Multimedia
03 THE STORY

About this print

The target can loading port at ANSTO HIFAR is a circular opening in the reactor top plate, ringed with a stainless-steel collar and capped with a removable shield plug. The port is one of several in the top plate, but this one was used specifically for loading target cans containing precursor materials that became medical isotopes once exposed to the reactor's neutron flux. The shield plug is partially withdrawn in this photograph, showing the shaft below. The surrounding work area has handling equipment racked along the wall, including the lifting jigs and shielding tongs used to manipulate active material.

Medical isotopes are the product that made HIFAR matter to people who never saw it. The reactor produced molybdenum-99, technetium-99m, and other isotopes used in nuclear medicine for imaging and treatment, supplying hospitals across Australia and a significant share of the wider region. Target cans loaded through this port were irradiated for hours or days, then removed for processing in the adjacent radiochemistry buildings. Over forty-nine years HIFAR is estimated to have produced isotopes used in millions of patient procedures. The reactor was shut down in 2007 because its successor, OPAL, was already running and could supply the same isotopes more efficiently.

04 FROM THE FIELD NOTES

The green loading port on the left side was used for target cans that were pneumatically loaded into the reactor for irradiation. These cans contained medical isotopes, crucial for diagnostic imaging and cancer treatment.

Brett Patman

ANSTO HIFAR

The series

ANSTO HIFAR

2022 · 49 photographs

HIFAR, the High Flux Australian Reactor, was Australia's first nuclear reactor. It went critical at 11:15 pm on Sunday 26 January 1958 and ran for forty-nine years and four days before being permanently shut down on 30 January 2007. The reactor was the last of six DIDO-class research reactors built worldwide to cease operation.

View all in this series →

05 SIZE GUIDE

Print sizes

The anatomy view shows what this finish is as a physical object: paper margin, mat band, frame depth, acrylic profile. The comparison strip shows how each size sits relative to the others at true scale. Click a size or a finish to update both.

Anatomy · true ratio
TypeSizeWidthHeight
08 BY POST · NO SPAM

Read the full story

Articles when they're published. The history behind a place. The day of a shoot. The work between prints. No marketing, no schedule.

You're subscribed.